Sketch 'n Glaze: Professional Tutorial
 Describing a process is very different from seeing it at work. Here we have our Studio Painter Kelsey Graham (known as @paintchantress of Instagram) paint one of our models and showcase how the Sketch ‘n Glaze system can really be put to use.
Preparation
Beginning with a zenithal prime using black primer and a light gray primer from a 45 degree angle from above. Then an airbrush was used to apply white from the top down, as well as around the face to help make that the brightest focal point. The white is an optional step – typically a zenithal prime is the starting point. We wanted this model to be a bit brighter, because we knew we wanted his skin to be a fairly light color, and it can be difficult to get there without a sufficiently bright base. A zenithal prime can leave you with a “speckled” effect, which would have been harder to disguise with light colors.

Applying a few additional white highlights with a brush in areas we’d like to be brighter using White Knight. For this tutorial, we are focusing on creating a simple, top-down lighting angle; imagining the light is shining from directly above the miniature. As we used a pure white in the last step, there aren’t many areas that need this, but we do use it to smooth out a bit of the remaining speckles in the upper areas, and to pick out a few sharp details that we’d like to have more focus, like the tendons on his right hand.

We have applied our base tone of Ghoul Flesh. This took two coats to make sure we had sufficiently covered everything. It isn’t necessary to completely cover the shadows – it is acceptable to have some gray peek through. Ghoul Flesh is technically a glazing paint, but because gray is more opaque than the next colors we’ll be using, it is important to use it to create a smooth base for the subsequent layers and glazes to sit upon

We want his skin to look sickly and inhuman, but still warm. Because our next color is very different from the first tone, we mixed them together first to help them harmonize a bit; Peachy Keen in with Ghoul Flesh in about a 1:1 ratio. We then begin applying this as a highlight, but a very broad highlight. We still leave Ghoul Flesh showing in what will be the darkest shadow areas and recesses, but we cover the majority of the flesh with this new color - not solely focusing on where light would hit. You can see where our zenithal prime is still showing through the skin a bit in some of the deepest shadows.

Next we applied pure Peachy Keen, continuing to build it up as a broad highlight, still leaving some of the previous colors showing. This is definitely the “ugly stage” of painting. With this color, we still allow it to wrap around a bit into what would technically be shadow later – consider this as helping to achieve “warm shadows”.

It’s time to move on to true highlights. We applied Tainted Snow to all of the highest points (known as sketching), again as if the light is coming from directly above him. For this stage, you do not need to worry about making sure your highlights are especially smooth and well blended. That being said, for large flat areas like the top of the model’s right shoulder, you may need to build up a few layers of the color to make sure you have solid coverage. You don’t want those big areas of smooth flesh to look streaky because it is confusing to the eye and will end up looking like an unintended texture later. For smaller/more detailed areas, some streaks, dots, and dashes are okay to suggest that the skin has a texture or wrinkles, or that the lighting isn’t smooth. You can see how we bend the rules of where light would hit on his right hand a bit – we’ve highlighted the tendons on the back of his hand, when that area wouldn’t necessarily be highlighted if the light was directly above the model. This is because the model’s giant hand is one of the focal points, and we want to draw attention to it (though not so much attention that it takes away from his face, so we keep these highlights relatively muted). Plus, it just looks cool that way.

For the next step, we made a thin wash of Peachy Keen and Merlin’s Magic Medium, thinned to about a 1:1 ratio and applied over all of the skin. This helps to begin blending in those highlights, and to make them look a bit smoother. Make sure to be a bit careful with the application of the wash and to not let it pool in your shadowy areas - we want those to stay dark!

We then went back in with Tainted Snow and reapplied the highlights. This time, we were more careful with them and focused on a smaller area than before, instead of painting over everything we previously painted with it. His face, the tops of his arms and shoulders, his chest, the top of his right hand (and a tiny bit on the tendons as well – again, it just looks cool).

Tonal Variations. This is an optional step that we did to give the skin a bit more life and interest. This is also an easy way to achieve a quick Object Source Lighting (OSL) effect depending on the colors that you use (for example, if you wanted it to look like the model was standing near a fire, you could use an orange color instead to portray fire light - though keep in mind the direction your light is coming from). Most painters like to work in a LOT of different colors when they paint skin, as it gives it a more realistic and dimensional look, and also distracts the eye from any mistakes or less-than-perfect blends you may have! For this model (though these would work on a range of different flesh colors), we chose to use Lovely Demon (a pastel lavender) for warm highlights and Experiment 626 (a pastel blue) for cool highlights. We applied Lovely Demon roughly to wherever the Tainted Snow meets the peachy layers below, but only on upward facing areas. Note that you don’t want to apply this over the Tainted Snow, just next to it. The Tainted Snow is still the brightest, highest facing highlight. This is an “in between” highlight. We then applied Experiment 626 in a similar way, but this time applied it next to Tainted Snow in areas that were pointing downward. This helps give us the beginnings of a shadow (though we are not applying this in any areas that would truly be in shadow), and suggests the look of blood under the skin. In some smaller areas like the model’s back, or the small muscles on its arms, we also applied Experiment 626 next to/below Lovely Demon, as if the highlight is wrapping around into shadow. Use your good judgment here and just do what you think looks cool! Lastly, we used White Knight to pump up the highlights a bit in the brightest areas – the tops of the shoulders and the raised arm, the model’s face, and the top of the chest.

Time for more washes! This is where the majority of life gets brought back into the model – we’re finally leaving the “ugly stage”! We use very thinned down washes (about a 1:4 paint to medium ratio, or a very thin glaze consistency) and then build them up as glazes over several layers as needed. This helps prevent “coffee staining” (it will still happen, but it is much easier to clean up than if your wash is too thick and leaves a noticeable mark), and creates even more depth than if you apply just one wash. The more depth and interest we can create, the more convincing our models look. We begin by applying a wash of I Stepped In It Brown over all of the skin, focusing on keeping it very very thin over the highlights, but letting it build up more towards the shadows (We will let it pool a bit around the leather apron and where other non-fleshy elements meet the flesh to create natural shadows here, so we won’t have to paint in a recess shadow later). We then apply a very thin wash of Sacrificial Red around the mouth, and any wounds and sores. We also paint the inside of the mouth entirely with full strength Sacrificial Red. We then apply a wash of The Deep into all of the shadows (the darkest areas where muscles meet, inside his cheeks and eyes, the deep shadows on his hand, inside his mouth, etc. We end up building this color up even more by the end, we really like the way it looks against the yellow of his skin). Remember to wick away excess paint if it starts to pool too much, but don’t do this if they’ve already started to dry as it will leave a more noticeable mark. We continue building up the washes as needed, though using them as more of a controlled glaze instead of a true wash, until they’re at the desired level of opacity.

Once again, we reapply our highlights with Tainted Snow and a bit of White Knight where needed, but very sparingly. Mostly around the model’s face to pick out the details, as well as the boils/sores and the collection of skulls in the armpit. In any areas where we notice the washes have left a coffee stain, we glaze the highlights back over those stains to disguise them. We painted the teeth and eyes with White Knight. We continue going back and forth with the previous colors (highlights and washes/glazes) – now using the washes we made as glazes instead of true washes – until we’re happy with them. We add a bit of I Stepped in it Brown wash over the boils as well.

The skin is done! As we stated earlier, we glazed even more blue (The Deep) into the shadows. We picked out the details on the skulls with a mix of Experiment 626 and White Knight. We also applied a glaze of Sacrificial Red to the elbows, knees, and fingertips. We also glaze in a bit of Bruised Ego – a nice warm purple – near some of the sores and inside the mouth to create a bit more warm shadow and help it look a bit bruised and sore. We also base coat the leather with Kevin to begin working on that next.

We applied a wash of Bruised Ego over all of the leather - including the straps, ropes, and weapon handles (even though we’ll make these a slightly different color in the end with our highlights). Reusing the same colors over different parts of the model like this helps it feel cohesive, and marries all of your separate components together to feel less like a patchwork of different parts instead of one whole. In a few of the deepest shadows, we add a few splotches of a wash of The Deep as well.

We reapply Kevin subtly to the raised areas and highlights of the apron, but leave a lot of the purple shadows showing. For all of the “other” leather elements that we want to stand out as different from the apron (the belt, straps, weapon handles, and rope), I use I Stepped in it Brown instead.

We highlight the apron sparingly with I Stepped in it Brown. For the other leather elements, we use Light Leather instead.

We apply some dots and dashes of Light Leather for the final highlights on the apron, mostly only hitting the edges and a few of the major folds. For the other leather elements, we use a 1:1 mix of Light Leather and Tainted Snow instead. We keep these highlights fairly sketchy and rough to imply rough texture, not at all worried about making them smooth. We pick out some of the details of the hide, but that’s about it.

For the heads, we base coated them with some random “zombie flesh” colors. We chose to make each of them different - one is Dead Scale, the next is Ghoul Flesh, and the last is Elven Grey. For all of the bones and skulls, we base coated those with Ghoul Fesh. We roughly applied Dead Scale all over the base - just one coat, so you get some natural variation with the zenthal prime showing through.
We again applied the same washes to the heads that we used on the Butcher’s skin - Sacrificial Red, The Deep, and Bruised Ego. You want to apply these all quickly, so that they have a chance to mix slightly in some areas. We washed all of the bones with I Stepped in it Brown. We covered the base with a thin wash of Black Knight.

We reapplied our base tones to each decapitated head as highlights. We ended up adding a bit more red wash around their mouths, wounds, and eye sockets, but feel free to go back and forth on the washes/glazes and highlights as needed to get them to a stage you like. The point is to just make them look gross, and the washes accomplish that pretty easily without much effort. You might notice that we keep our glazes and washes almost the same level of dilution - so we use these terms a bit interchangeably. When we wash, we are roughly applying the mixture and letting it pool slightly in the shadows. When we glaze, we’re applying the same mixture, but sparingly so that there is no pooling happening at all. For the base, we mixed up a random grayish tone of Dead Scale and Black Knight and picked out most of the raised detail with this, leaving a good amount of green showing.

We continue building up the highlights by slowly adding Tainted Snow into each of the base tones, until we are happy. As they’re a small detail, we focus on highlighting the tops of their heads, noses, and a bit around their cheekbones and eye sockets. We dot the eyes and teeth with Elven Grey (white would be a bit too bright in this case).

Now is the time to use a bit of Non-Metallic Metal (NMM). To start, we base coat all of the metal elements with Black Knight. As the darker paints in the range are used as glazes, this might take a few coats, but you want this layer to be relatively opaque before you begin highlighting. We also painted the base rim black, even though we know we’ll need to clean it up before the end.

We slowly start mixing White Knight into Black Knight little by little to come up with graduated gray tones that we use to highlight the metal. We are aiming for a basic NMM look, so we did this in a progression of three stages before we get to our brightest highlight. Ideally, you’ll work each gray up in a few thin glaze layers before moving on to the next stage to smooth out the transitions of each layer.

Continue mixing in White Knight. Note that we also tackle the staples at this point as well.

Even more White Knight mixed in, now to a very light gray - almost pure white.
We applied pure White Knight very sparingly as our final highlights. To finish the base, we applied a few random, splotchy washes to the base using Dead Scale and I Stepped in it Brown. Then, we applied a recess wash of Black Knight, this time only into the cracks in the stone or underneath the miniature. If you wanted, you could highlight a few areas around the edges with gray as well to give some tonal variation.


Clean up the black base rim with Black Knight, and the model is done!

Paint Sets
-
 Sold out
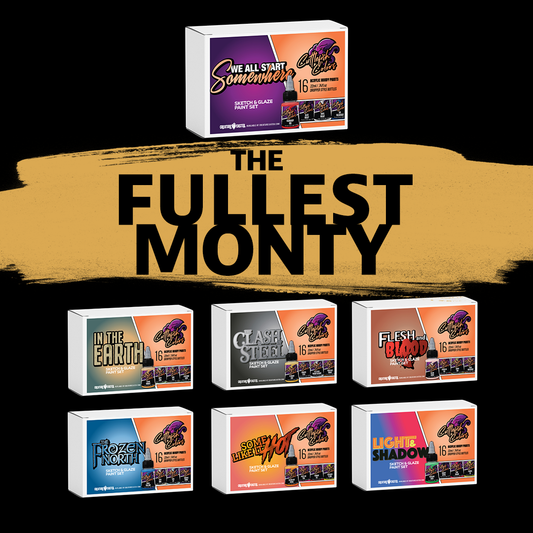
The Fullest Monty
Regular price $682.49 CADRegular priceUnit price per -
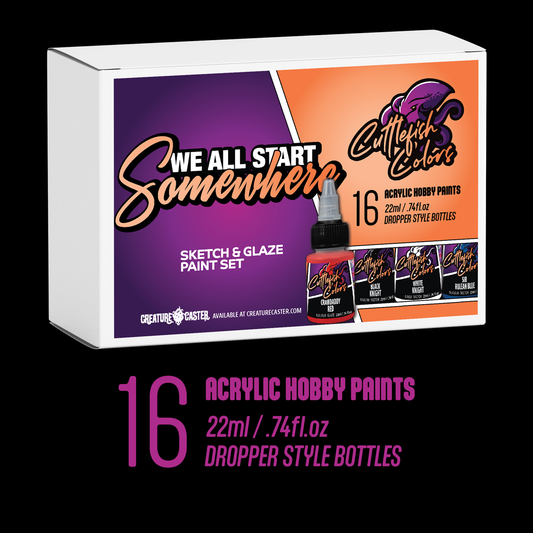
We All Start Somewhere Set of 16 Paints
Regular price $83.99 CADRegular priceUnit price per -
 Sold out
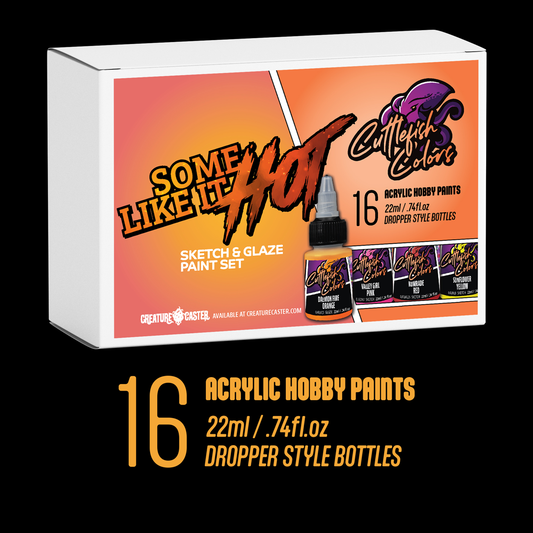
Some Like It Hot Set of 16 Paints
Regular price $94.49 CADRegular priceUnit price per -
 Sold out
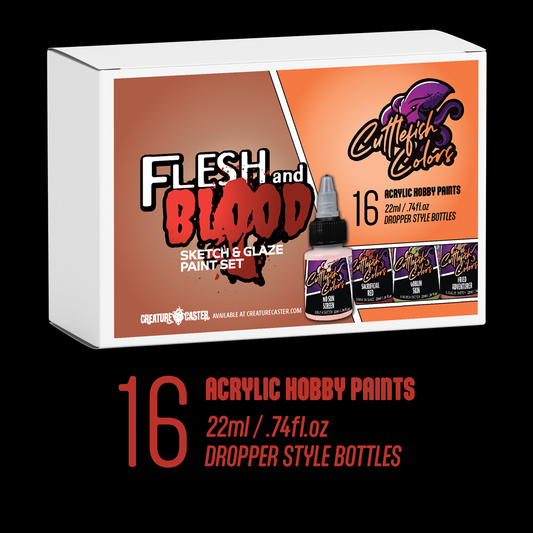
Flesh and Blood
Regular price $94.49 CADRegular priceUnit price per -
 Sold out
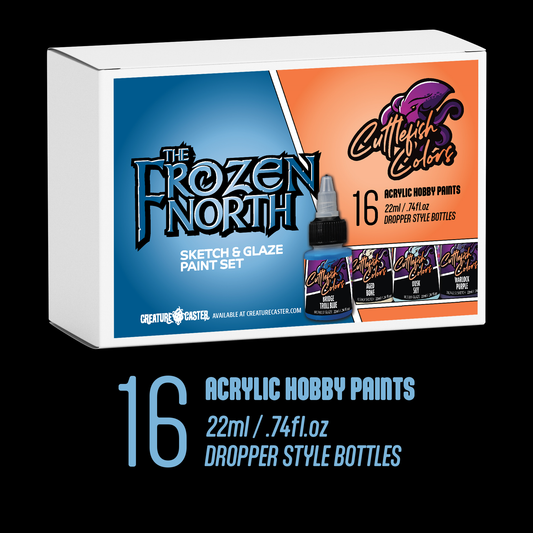
The Frozen North Set of 16 Paints
Regular price $94.49 CADRegular priceUnit price per -
 Sold out
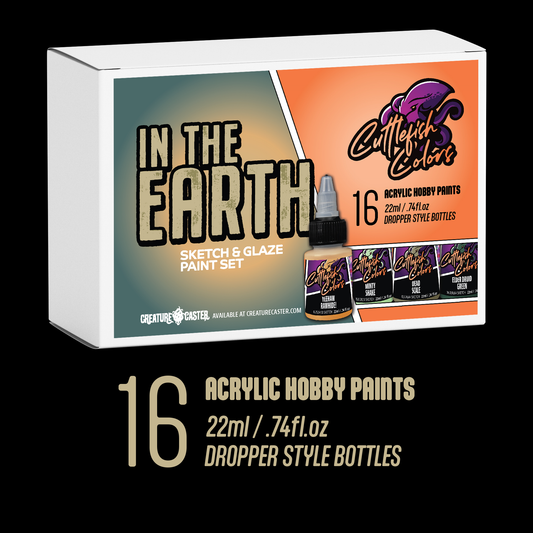
In The Earth Set of 16 Paints
Regular price $94.49 CADRegular priceUnit price per -
 Sold out
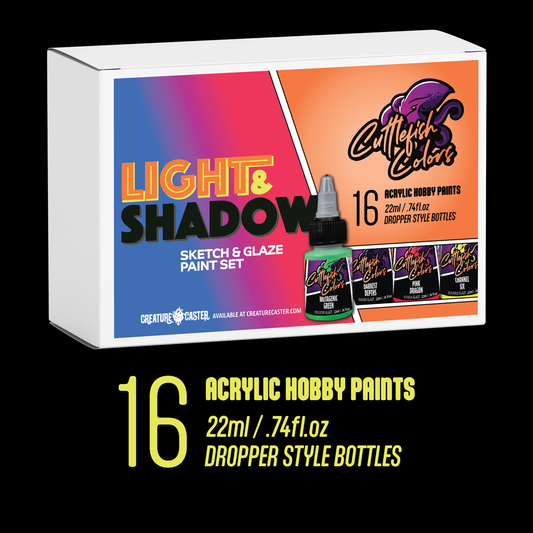
Light and Shadow
Regular price $104.99 CADRegular priceUnit price per -
 Sold out
The Clash of Steel
Regular price $104.99 CADRegular priceUnit price per