Sketch 'n Glaze: Professional Results in a Bottle

The Cuttlefish Color range of paints is something that is unlike anything else on the market. It isn't just a new paint line - it is a new painting system that is drawn from the experience of the masters within the hobby. Our new "Sketch 'n Glaze" system is specifically formulated to provide a perfect glaze consistency every time you touch your brush to the model, allowing painters to fast track their way to competition-level results. In this guide, you will find out more about the paints and how they are applied. In later entries, we will have full on tutorials on how to use these paints and apply them to your models.
The landscape of the miniature painting world is changing. It seems like every day, new and exciting products are making their way to market, and giving us new tools to add to our arsenal in which we can use to go to war with the mounting pile of resin and plastic shame that plagues us all. Some of these tools are designed to quickly get through it - airbrushes, pre-thinned paint for said brushes, speed paints that are engineered to give a satisfactory result with a single coat. For many, these are the standard staples to move quickly and tackle those products with ease.
But what about those models that you truly love? For those, you have your standard acrylic (and sometimes oil) paints where you can spend countless hours plying your trade and really enjoying the hobby from start to finish. When I started in the hobby of painting miniatures, there wasn’t the vast array of painting guides that painters enjoy now-a-days, nor was there the vast amount of miniatures available. I largely had to rely on painted images on the packaging of miniatures back in those days, or the extremely lacking painting guides in some of the hobby magazines available back then.
Then came the European explosion of miniatures that were being showcased in North America. The range of colors used to paint these miniatures were unheard of in the frozen north of Canada, and the use of non-metallic paints to capture the sheen of metal was something that captured the imagination of artists all over the globe. The biggest difference in the European techniques versus the North American painting guides was the smooth blend of colors and the control of the lighting over the miniature using various tones of paint. This technique was known as Glazing, as it was using layer after layer of semi-transparent paints over a base coat to achieve subtle changes of color.

Glazing has always been a staple technique of miniature painters - much like dry-brushing or edge highlighting. Anyone can learn to glaze a model, but it is what separates the true masters of the hobby. It is a time consuming process that requires patience, skill, and a sound knowledge of how light transfers over a model.
Which leads me to the topic of Cephalopod Studio’s Cuttlefish Colors Paint Line. I am not a master painter, nor do I have the patience to sit for countless hours with a miniature and properly thin all of my paints to apply thin layers. The Cuttlefish Color Paints are perfectly thinned and designed to be semi-transparent, giving you a glaze finish right out of the bottle. This is not a paint for everyone - it will not make you a faster painter, nor will it magically (or chemically) allow you to skip certain steps when it comes to finishing a model. What it will do is allow you to achieve smooth and blended layers which allow you to create a final product that looks as though you’ve spent long days and sleepless nights painstakingly going over every detail. Everything worth doing takes time and practice, and using this product won’t change that - but it will allow you to learn these techniques used by competition painters worldwide and give you insight on how to master the use of interesting colors for amazing results. This range of paints are perfect for those who have ever struggled with the perfect consistency for glazing, and it gives fantastic results every single time.
Priming
Once your model has been assembled, it is time to put a coat of primer on your model. There are three ways to do this - with an old fashioned rattle can, with an airbrush, or with a standard brush. With the Sketch ‘n Glaze method, it is strongly recommended that you begin with a black primer regardless of how you apply it. The reason for this is that you want there to be deep shadows on your model, and using black will help define these.
After you have completed applying a smooth coat of primer over your model, you can start on the second step of this process, which is to apply a white primer overtop of the black layer of primer. If you have access to a rattle can or airbrush, you can take advantage of priming in a zenithal fashion. The best way to do this is hold the spray can or airbrush at a 45° angle over the model, and to spray downward. By doing this, you will create the illusion of light over the model, giving you a strong highlight and dark shadows. This is not a required step, as you will be building a foundation in the next phase of your painting, but can help in setting up a smooth and consistent coat of primer. As the Cuttlefish Color range is semi-transparent - this is an important step in the Sketch ‘n Glaze system of painting.
Building a Foundation
If you do not have a spray can of primer handy, or do not have an airbrush, you can simply build the foundation of your model by dry brushing. To do this, you simply put an ample amount of white paint on your palette. Once you have completed this step, take a drybrush (preferably a large, older flat brush you have lying around), and roughly wipe away all of the white paint on it on a paper towel or some other rough surface. This will leave the pigments on your brush, but get rid of most of the acrylic binder. Then, with that brush, sweep your brush across your model at a 45° angle, ensuring that all of the parts of the model that would be exposed to the light are brushed with the white paint. If not starting this stage from a zenithal prime, it might take several layers to get the highlights as white as required.

Sketching
After you have built the foundation on which you are going to apply paint you will have areas of the model that still will not have enough white on them. This step is called sketching. With a normal brush (usually a no. 1 or 2 standard), add white paint in strokes to those places where the light would shine the highest. A trick for this if you are unsure, is to take the flashlight on your phone and hold it at a 45° angle over your model. You will then see where the light hits, and what parts of the model need to have the most volume. Once you have finished this step, you are ready to move onto the next step, but you will need to understand how to sketch, as it will come into play later on.

Start in the Middle
Once you have completed sketching out your model, you can begin painting with your mid-tone - which is not too light to be mistaken for light hitting the model, but not too low that it will be hard painting over it. As the Sketch ‘n Glaze system requires the use of semi-transparent paints, it will be much more difficult to paint over darker colors, requiring you to sketch over them again with white paint before applying another color. Be sure to get complete coverage with your mid-tone before moving onto your next color, though sometimes it helps to move onto a different section of your model while the paints are drying. As Cuttlefish Colors uses a retardant in their paint to slow the drying process, it makes it ideal for wet-blending - which is the best way to get the smoothest coat possible with flawless transitions between colors. Once you have laid out your mid-tones, you are ready to move onto the highlighting phase of your miniature.

Highlights
With your brush, go back to your white paint and sketch out the highlights on your model once again. This will help when applying your highlight color, which represents light striking your model from a specific angle. Take your time to ensure you're striking the hard edges that will be at their brightest. When painting over a large surface area, you can water down your white paint and spread it out a little more evenly over the surface.
After you have completed your secondary sketching you can move on to applying a lighter color to your model. If there are no lighter colors than you want to use, you can always use a little bit of Tainted Snow to create a lighter tone for you to work with.
Once you have completed that step, you can always go back and re-sketch out the highlights with more white paint, and continue to highlight in this fashion. The idea is to get the highlights as high as you possibly can.

Washes and Shadows
Once you have completed the highlights, you are going to want to apply washes and glazes to tint certain parts of your model to create depth. You will need to water down your paints for this phase, as you do not want the full strength of the paint showing through and covering up your layers. To create a wash, you want to create a mix of 1:3 parts paint to Merlin’s Magic Medium (or water, depending on what you would like to achieve) before applying it to the crevices and lowest parts of your model. This will create the impression of shadows and depth to your model.
In some circumstances, you will want to tint a paint that has already been laid down in a highlight. A good example of this would be to add a little bit of red to a model’s nose and tips of their ears. When doing this, it is key to keep light sources in mind, so if you lay down a tint to a particular part of the model, you will want to go about adding successive glazes over that tint to demonstrate the luminescence on that particular part.

Mastering Magic
One of the most important pieces to the Cuttlefish Color Range is the mixing medium known as Merlin’s Magical Medium. This substance is a flow improver and retarder that not only thins your paint down to make washes, or even thinner layers - but also extends the drying time to allow you to create smoother blends and transitions of color. When using this as a substitute for water, you will notice that the paint follows much more easily through an airbrush - though keep in mind that you need to be quite sparing with the paint, as the drying time will be extended as well. All good things come with time, and patience and practice are key to achieving fantastic results.

Tips and Tricks
The Cuttlefish Colors Paint Range is an amazing addition to any miniature painter’s toolbox, or a fantastic range in themselves. The Sketch ‘n Glaze System of painting is a tried and true method of painting that has been in practice for the past three decades. With that being said, here are some tricks for those looking to get the most out of these colors:
- Be patient. In this case, less is more. Do not load your brush with too much paint, and be sure to wipe off excess paint on a handy paper towel. This is how you maintain proper brush control.
- If you're only working on one model, and you want to be able to apply a new layer more quickly, have a hair-dryer handy and use it often between layers. It will speed up the drying process considerably - just be sure to use the heat setting sparingly, especially on models that can be affected by extremes of heat.
- When painting the highest ranges of your highlight, mix your color with a little bit of Tainted Snow, and when doing washes and shades, mix your color with a bit of Sir Rulean Blue when applying shadows.
- Shake the hell out of your paints. Pigments are heavy and sometimes long periods of rest will cause them to separate. Be sure to shake them extremely vigorously. If you see white or clear paint come out of the tip, that is acrylic binder and your paints need to be shaken more thoroughly.
I hope this guide has helped you when exploring our amazing new Cuttlefish Colors range of paints! Stay tuned for more tutorials and content coming your way in the near future!
Paint Sets
-
 Sold out
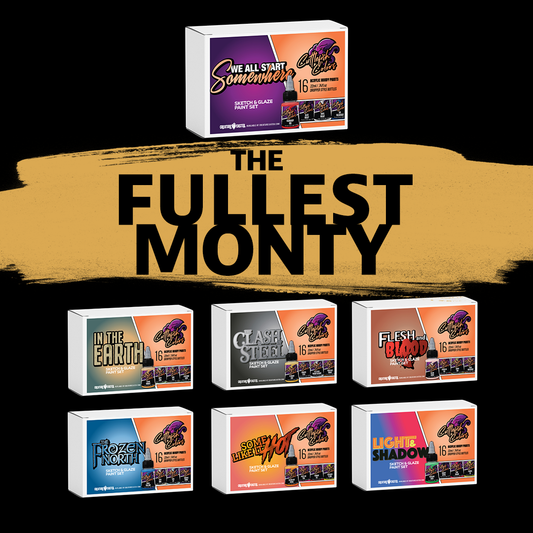
The Fullest Monty
Regular price $682.49 CADRegular priceUnit price per -
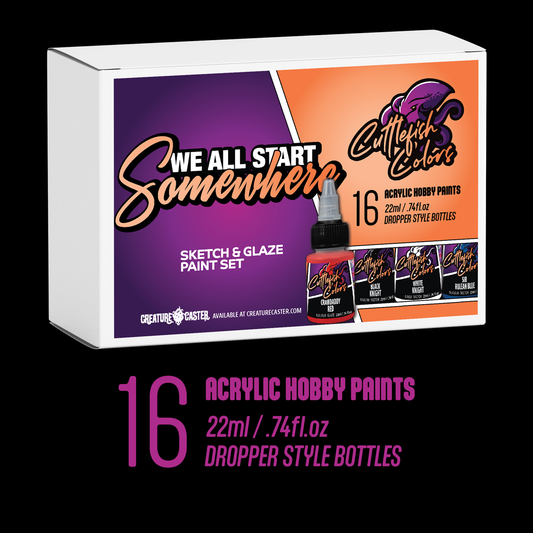
We All Start Somewhere Set of 16 Paints
Regular price $83.99 CADRegular priceUnit price per -
 Sold out
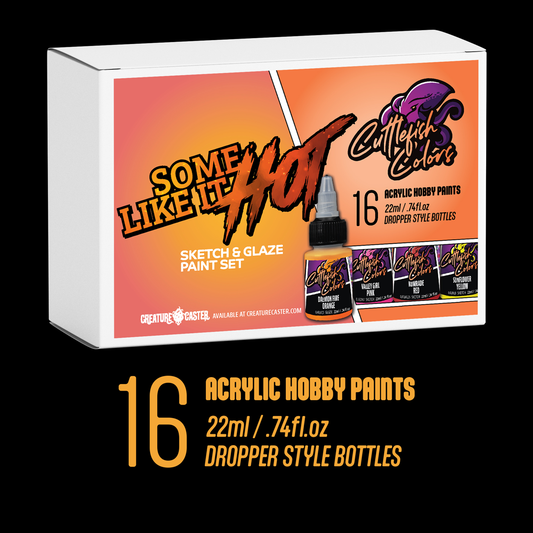
Some Like It Hot Set of 16 Paints
Regular price $94.49 CADRegular priceUnit price per -
 Sold out
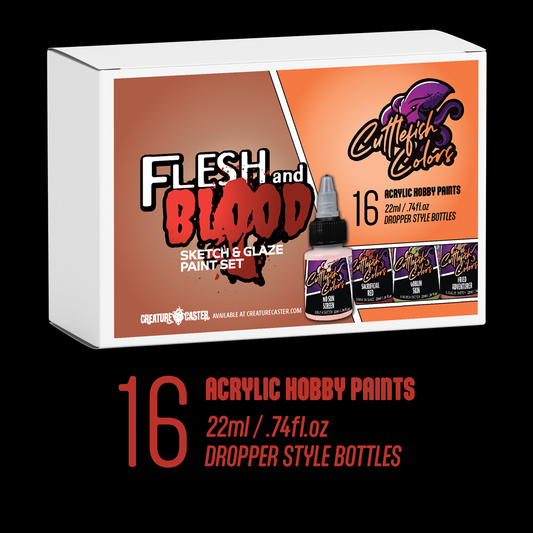
Flesh and Blood
Regular price $94.49 CADRegular priceUnit price per -
 Sold out
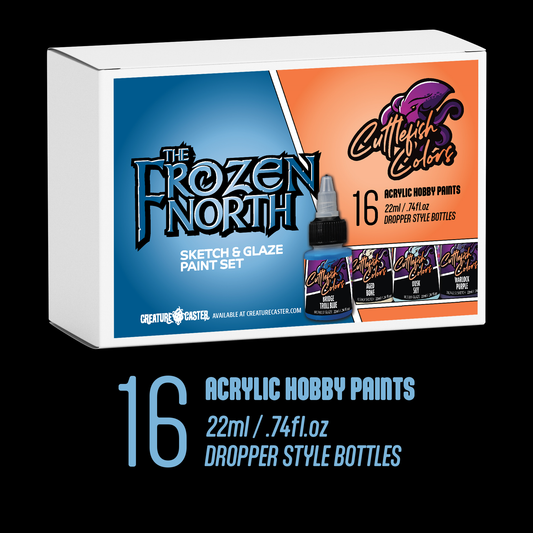
The Frozen North Set of 16 Paints
Regular price $94.49 CADRegular priceUnit price per -
 Sold out
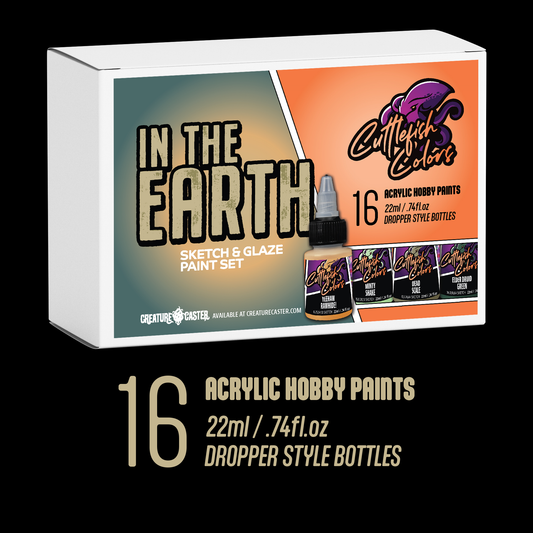
In The Earth Set of 16 Paints
Regular price $94.49 CADRegular priceUnit price per -
 Sold out
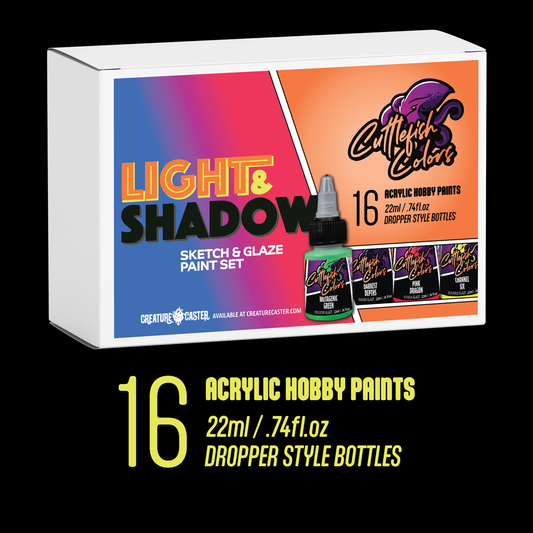
Light and Shadow
Regular price $104.99 CADRegular priceUnit price per -
 Sold out
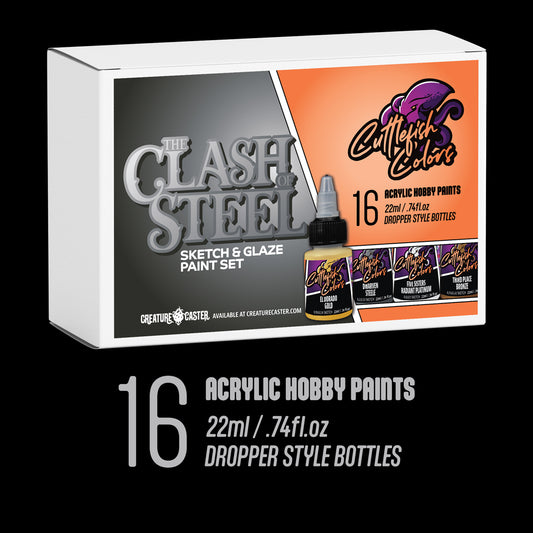
The Clash of Steel
Regular price $104.99 CADRegular priceUnit price per